Our first app with Xamarin.Forms for iOS and Android is built in seconds.
In Xamarin Studio we create a new solution of type “Xamarin.Forms App” and choose an App name. For shared code we choose the “Use Shared Library” option. The new solution contains basically three projects: a shared project with all the cross-platform business logic and UI description as well as two projects with the platform specific integration and customization for Android and iOS devices.
In this chapter we will have a detailed look into each of these three projects.
The shared project
After creating a new Xamarin.Forms app, the shared project only contains one file named after your solution and defining the App class. It serves as the main entry point for the cross-platform code implementing both UI and business logic.
using Xamarin.Forms;
namespace HelloForms
{
public class App : Application
{
public App()
{
MainPage = new ContentPage {
Content = new Label {
Text = "Hello, Forms!",
VerticalOptions = LayoutOptions.Center,
HorizontalOptions = LayoutOptions.Center,
},
};
}
}
}
The constructor defines a new ContentPage filled with a Label. The Text is simply “Hello, Forms!”. And the layout options just take care that it is nicely centered on the page.
This is all it takes to define the UI of our first cross-platform app. The following two sections will show how to integrate this shared project into platform-specific code.
The Android project
The Android project contains an activity named MainActivity. It is marked as MainLauncher and will appear on app start.
using Android.App;
using Android.Content.PM;
using Android.OS;
using Xamarin.Forms;
using Xamarin.Forms.Platform.Android;
namespace HelloForms.Droid
{
[Activity(
Label = "HelloForms.Droid",
Icon = "@drawable/icon",
MainLauncher = true,
ConfigurationChanges = ConfigChanges.ScreenSize | ConfigChanges.Orientation)]
public class MainActivity : FormsApplicationActivity
{
protected override void OnCreate(Bundle savedInstanceState)
{
base.OnCreate(savedInstanceState);
Forms.Init(this, savedInstanceState);
LoadApplication(new App());
}
}
}
After initializing Xamarin.Forms it loads a new instance of the platform-independent App.
Remark on the default namespace Droid
You might wonder why the default namespace of the Android project is named Droid and not Android – like it was the case in previous versions of Xamarin.Studio. If the namespace was Android, there could easily occur conflicts with the native Android namespace. Similarly, you should avoid creating solutions like “System”, “Graphics” or “Forms” in order to avoid conflicts with very common namespaces.
The iOS project
The iOS project is similarly short: The method FinishedLaunching of the class AppDelegate initializes Xamarin.Forms and loads an instance of App.
using Foundation;
using UIKit;
using Xamarin.Forms;
using Xamarin.Forms.Platform.iOS;
namespace HelloForms.iOS
{
[Register("AppDelegate")]
public class AppDelegate : FormsApplicationDelegate
{
public override bool FinishedLaunching(UIApplication uiApplication, NSDictionary launchOptions)
{
Forms.Init();
LoadApplication(new App());
return base.FinishedLaunching(uiApplication, launchOptions);
}
}
}
Remark on the default namespace iOS
If you have source analysis enabled (Xamarin Studio Preferences → Text Editor → Source Analysis) you might get a warning that the namespace iOS should start with an uppercase letter. You can simply ignore it or change the name convention (Xamarin Studio → Preferences → Source Code → Name Conventions), since IOS would be a rather strange notation for “iOS” and it is nontrivial to rename the namespace together with all files and folders.
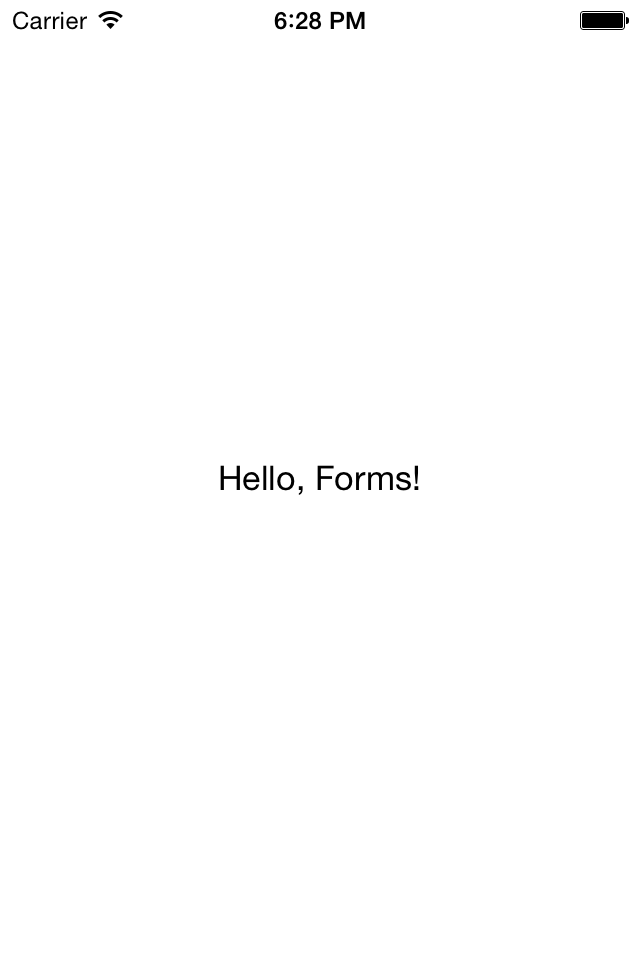
Our first Xamarin.Forms app. The page contains nothing but a horizontally and vertically centered label.
In Xamarin Studio we create a new solution of type “Xamarin.Forms App” and choose an App name. For shared code we choose the “Use Shared Library” option. The new solution contains basically three projects: a shared project with all the cross-platform business logic and UI description as well as two projects with the platform specific integration and customization for Android and iOS devices.
In this chapter we will have a detailed look into each of these three projects.
The shared project
After creating a new Xamarin.Forms app, the shared project only contains one file named after your solution and defining the App class. It serves as the main entry point for the cross-platform code implementing both UI and business logic.
using Xamarin.Forms;
namespace HelloForms
{
public class App : Application
{
public App()
{
MainPage = new ContentPage {
Content = new Label {
Text = "Hello, Forms!",
VerticalOptions = LayoutOptions.Center,
HorizontalOptions = LayoutOptions.Center,
},
};
}
}
}
The constructor defines a new ContentPage filled with a Label. The Text is simply “Hello, Forms!”. And the layout options just take care that it is nicely centered on the page.
This is all it takes to define the UI of our first cross-platform app. The following two sections will show how to integrate this shared project into platform-specific code.
The Android project
The Android project contains an activity named MainActivity. It is marked as MainLauncher and will appear on app start.
using Android.App;
using Android.Content.PM;
using Android.OS;
using Xamarin.Forms;
using Xamarin.Forms.Platform.Android;
namespace HelloForms.Droid
{
[Activity(
Label = "HelloForms.Droid",
Icon = "@drawable/icon",
MainLauncher = true,
ConfigurationChanges = ConfigChanges.ScreenSize | ConfigChanges.Orientation)]
public class MainActivity : FormsApplicationActivity
{
protected override void OnCreate(Bundle savedInstanceState)
{
base.OnCreate(savedInstanceState);
Forms.Init(this, savedInstanceState);
LoadApplication(new App());
}
}
}
After initializing Xamarin.Forms it loads a new instance of the platform-independent App.
Remark on the default namespace Droid
You might wonder why the default namespace of the Android project is named Droid and not Android – like it was the case in previous versions of Xamarin.Studio. If the namespace was Android, there could easily occur conflicts with the native Android namespace. Similarly, you should avoid creating solutions like “System”, “Graphics” or “Forms” in order to avoid conflicts with very common namespaces.
The iOS project
The iOS project is similarly short: The method FinishedLaunching of the class AppDelegate initializes Xamarin.Forms and loads an instance of App.
using Foundation;
using UIKit;
using Xamarin.Forms;
using Xamarin.Forms.Platform.iOS;
namespace HelloForms.iOS
{
[Register("AppDelegate")]
public class AppDelegate : FormsApplicationDelegate
{
public override bool FinishedLaunching(UIApplication uiApplication, NSDictionary launchOptions)
{
Forms.Init();
LoadApplication(new App());
return base.FinishedLaunching(uiApplication, launchOptions);
}
}
}
Remark on the default namespace iOS
If you have source analysis enabled (Xamarin Studio Preferences → Text Editor → Source Analysis) you might get a warning that the namespace iOS should start with an uppercase letter. You can simply ignore it or change the name convention (Xamarin Studio → Preferences → Source Code → Name Conventions), since IOS would be a rather strange notation for “iOS” and it is nontrivial to rename the namespace together with all files and folders.
Our first Xamarin.Forms app. The page contains nothing but a horizontally and vertically centered label.