So far – and for the remaining chapters – we implemented layout descriptions using C# code. There is, however, the possibility to use an XML-based layout description, namely the Extensible Application Markup Language (XAML).
The most obvious advantage is the imposed separation of layout and business logic. Furthermore, the XAML code might be shorter and more readable.
On the other hand, there are some drawbacks. Although XAML code can describe certain user interactions via bindings, more complicated interaction needs to be implemented within a so-called “code-behind” C# file. Thus, the layout description spreads across two files and two languages, which increases the complexity of our project structure. And since most of the XAML is only parsed at run-time, the code-completion, syntax-highlighting and source code analysis is incomplete and sometimes misleading.
Note that this is a rather personal opinion and the recommendation for XAML or C# might change with future Xamarin.Forms and Xamarin.Studio releases. Since nearly all features of Xamarin.Forms can be implemented using C# only, we restrict ourselves to C# within this book. But we don’t want to withheld at least one XAML example.
In the following, we want to give a tiny example on how to create an app using Xamarin and an XAML layout description. Given a blank Xamarin.Forms solution, we add a new “Forms ContentPage Xaml” named “LabelPage” to the shared project. This generates two files: “LabelPage.xaml” with the XAML code as well as a nested “LabelPage.xaml.cs” with corresponding C# code.
First, let’s look into the XAML part. The actual page content is framed by a ContentPage tag. It contains two URLs serving as scheme version definitions and the class definition LabelPage. Within this page we place a centered StackLayout with one Label and one Button. Besides corresponding Text attributes we assign names. This will allow us to refer to these two elements from C# code.
<?xml version="1.0" encoding="UTF-8"?>
<ContentPage xmlns="http://xamarin.com/schemas/2014/forms" xmlns:x="http://schemas.microsoft.com/winfx/2009/xaml" x:Class="Xaml.LabelPage">
<StackLayout HorizontalOptions="CenterAndExpand" VerticalOptions="CenterAndExpand">
<Label x:Name="helloLabel" Text="Hello, XAML!" />
<Button x:Name="clickButton" Text="Click me!" />
</StackLayout>
</ContentPage>
The corresponding C# file contains a partial class definition for our custom LabelPage. The constructor calls a method InitializeComponent, which is implemented in a different part of the class definition.
public partial class LabelPage : ContentPage
{
public LabelPage()
{
InitializeComponent();
}
}
During compile time, Xamarin will parse the XAML file and create another C# file “LabelPage.xaml.g.cs” (“g” for generated) located in the “obj” folder. It contains the implementation of InitializeComponent, which in turn calls LoadFromXaml, the XAML parser.
The MainPage is now initialized with a new LabelPage.
MainPage = new LabelPage();To implement a simple user interaction, we access the two UI elements by name:
var label = MainPage.FindByName<Label>("helloLabel");
var button = MainPage.FindByName<Button>("clickButton");
Then we can implement a button click handler as usual:
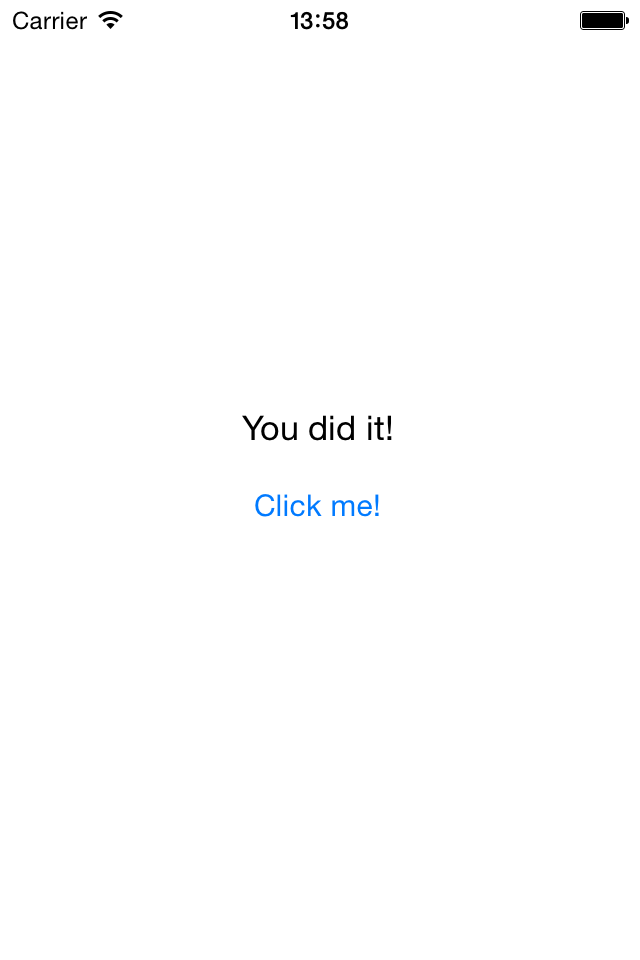
button.Clicked += (sender, e) => label.Text = "You did it!";
Note that we could also move the click handler implementation to the “LabelPage.xaml.cs” file. During InitializeComponent the generated C# code will store two private member variables helloLabel and clickButton. It allows us to assign the delegate (sender, e) => helloLabel.Text = "..."; to the event clickButton.Clicked anywhere within the LabelPage class after InitializeComponent has been called. This way we encapsulate both layout and user interaction in one class.
The most obvious advantage is the imposed separation of layout and business logic. Furthermore, the XAML code might be shorter and more readable.
On the other hand, there are some drawbacks. Although XAML code can describe certain user interactions via bindings, more complicated interaction needs to be implemented within a so-called “code-behind” C# file. Thus, the layout description spreads across two files and two languages, which increases the complexity of our project structure. And since most of the XAML is only parsed at run-time, the code-completion, syntax-highlighting and source code analysis is incomplete and sometimes misleading.
Note that this is a rather personal opinion and the recommendation for XAML or C# might change with future Xamarin.Forms and Xamarin.Studio releases. Since nearly all features of Xamarin.Forms can be implemented using C# only, we restrict ourselves to C# within this book. But we don’t want to withheld at least one XAML example.
In the following, we want to give a tiny example on how to create an app using Xamarin and an XAML layout description. Given a blank Xamarin.Forms solution, we add a new “Forms ContentPage Xaml” named “LabelPage” to the shared project. This generates two files: “LabelPage.xaml” with the XAML code as well as a nested “LabelPage.xaml.cs” with corresponding C# code.
First, let’s look into the XAML part. The actual page content is framed by a ContentPage tag. It contains two URLs serving as scheme version definitions and the class definition LabelPage. Within this page we place a centered StackLayout with one Label and one Button. Besides corresponding Text attributes we assign names. This will allow us to refer to these two elements from C# code.
<?xml version="1.0" encoding="UTF-8"?>
<ContentPage xmlns="http://xamarin.com/schemas/2014/forms" xmlns:x="http://schemas.microsoft.com/winfx/2009/xaml" x:Class="Xaml.LabelPage">
<StackLayout HorizontalOptions="CenterAndExpand" VerticalOptions="CenterAndExpand">
<Label x:Name="helloLabel" Text="Hello, XAML!" />
<Button x:Name="clickButton" Text="Click me!" />
</StackLayout>
</ContentPage>
The corresponding C# file contains a partial class definition for our custom LabelPage. The constructor calls a method InitializeComponent, which is implemented in a different part of the class definition.
public partial class LabelPage : ContentPage
{
public LabelPage()
{
InitializeComponent();
}
}
During compile time, Xamarin will parse the XAML file and create another C# file “LabelPage.xaml.g.cs” (“g” for generated) located in the “obj” folder. It contains the implementation of InitializeComponent, which in turn calls LoadFromXaml, the XAML parser.
The MainPage is now initialized with a new LabelPage.
MainPage = new LabelPage();To implement a simple user interaction, we access the two UI elements by name:
var label = MainPage.FindByName<Label>("helloLabel");
var button = MainPage.FindByName<Button>("clickButton");
Then we can implement a button click handler as usual:
button.Clicked += (sender, e) => label.Text = "You did it!";
Note that we could also move the click handler implementation to the “LabelPage.xaml.cs” file. During InitializeComponent the generated C# code will store two private member variables helloLabel and clickButton. It allows us to assign the delegate (sender, e) => helloLabel.Text = "..."; to the event clickButton.Clicked anywhere within the LabelPage class after InitializeComponent has been called. This way we encapsulate both layout and user interaction in one class.